Lexus NX: Reassembly
REASSEMBLY
PROCEDURE
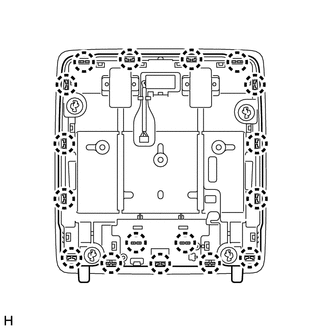
1. INSTALL MAP LIGHT SUB-ASSEMBLY
| (a) Attach the 17 claws to install the map light sub-assembly. |
|
READ NEXT:
 Installation
INSTALLATION PROCEDURE 1. INSTALL MAP LIGHT ASSEMBLY (PERSONAL LIGHT) (a) Connect the connectors. (b) Attach the 4 clips to install the map light assembly (personal light).
Rear Door Courtesy Switch
ComponentsCOMPONENTS ILLUSTRATION *1 REAR DOOR COURTESY LIGHT SWITCH ASSEMBLY - - N*m (kgf*cm, ft.*lbf): Specified torque - - RemovalREMOVAL CAUTION / NOTICE / HINT HINT:
Relay
On-vehicle InspectionON-VEHICLE INSPECTION PROCEDURE 1. INSPECT LIGHT CUT RELAY (a) Remove the upper instrument panel sub-assembly. Click here (b) Remove the light cut relay. (c
SEE MORE:
Removal
REMOVAL PROCEDURE 1. PRECAUTION NOTICE: After the power switch is turned off, there may be a waiting time before disconnecting the negative (-) auxiliary battery terminal. Click here 2. REMOVE NO. 3 DECK BOARD SUB-ASSEMBLY Click here 3. REMOVE REAR DECK FLOOR BOX Click here 4. REMOVE DECK FLOO
Brake Override System
DESCRIPTION When the vehicle is being driven with the accelerator pedal depressed, depressing the brake pedal without releasing the accelerator pedal will activate the brake override system to restrict driving torque. The conditions for activating the brake override system as well as the items that
© 2016-2024 Copyright www.lexunx.com
