Lexus NX: Back Door Weatherstrip
Components
COMPONENTS
ILLUSTRATION
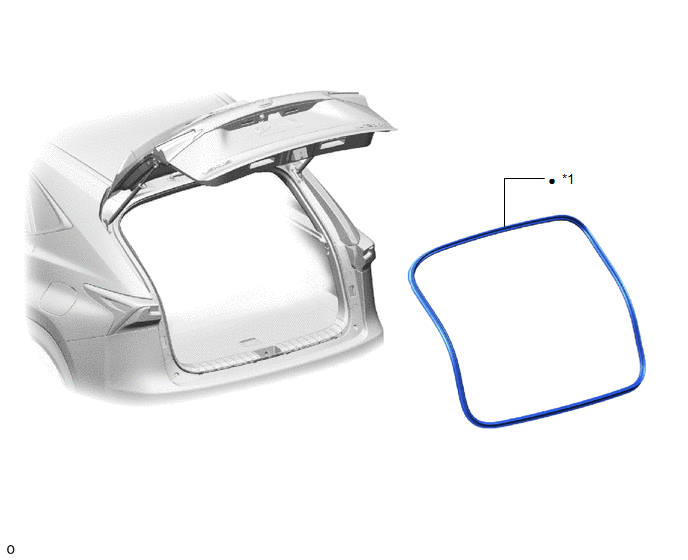
| *1 | BACK DOOR WEATHERSTRIP | - | - |
| ● | Non-reusable part | - | - |
Removal
REMOVAL
PROCEDURE
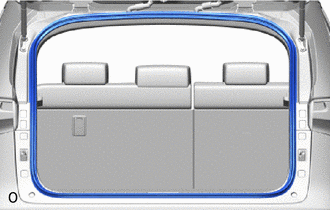
1. REMOVE BACK DOOR WEATHERSTRIP
| (a) Remove the back door weatherstrip. |
|
Installation
INSTALLATION
PROCEDURE
1. INSTALL BACK DOOR WEATHERSTRIP
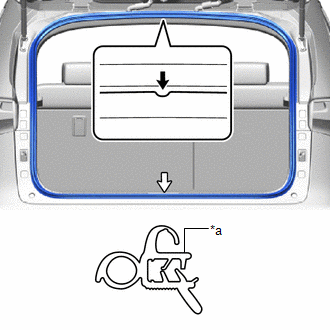
| *a | Paint Mark |
.png) | Marking Position |
.png) | Weatherstrip Joint |
(a) Remove any non-drying sealer on the body with non-residue solvent.
(b) Align the paint marks with the positions on the body flange and install a new back door weatherstrip.
NOTICE:
Always align the paint mark when installing the part. If the paint mark position is out of place, water leaks may occur.
HINT:
To easily install the weatherstrip, first install the area with the paint mark as shown in the illustration. Then install the part toward the corners and push any excess length into the corners.
READ NEXT:
 Components
COMPONENTS ILLUSTRATION *1 DECK FLOOR BOX LH *2 NO. 3 DECK BOARD SUB-ASSEMBLY *3 REAR DECK FLOOR BOX *4 NEGATIVE AUXILIARY BATTERY TERMINAL N*m (kgf*cm, ft.*lbf): Specified
Disassembly
DISASSEMBLY CAUTION / NOTICE / HINT HINT:
Use the same procedure for the RH and LH side.
The procedure listed below is for the LH side.
PROCEDURE 1. PRECAUTION CAUTION: Be sure to read Precaut
SEE MORE:
Installation
INSTALLATION CAUTION / NOTICE / HINT NOTICE:
Do not replace the spiral with sensor cable sub-assembly with the battery connected and the engine switch on (IG).
Do not rotate the spiral with sensor cable sub-assembly when the following conditions are met: 1) The steering wheel is removed, 2) the
AVC-LAN Circuit
DESCRIPTION Each audio system component connected to the AVC-LAN (communication bus) transfers switch signals using the audio visual communication local area network. If a short to +B or short to ground occurs in the AVC-LAN, the audio system will not function normally because communication is not p
