Lexus NX: Components
COMPONENTS
ILLUSTRATION
.png)
| *1 | DECK FLOOR BOX LH | *2 | REAR DECK FLOOR BOX |
| *3 | UPPER INSTRUMENT PANEL | *4 | AUXILIARY BATTERY NEGATIVE TERMINAL |
.png) | N*m (kgf*cm, ft.*lbf): Specified torque | - | - |
ILLUSTRATION
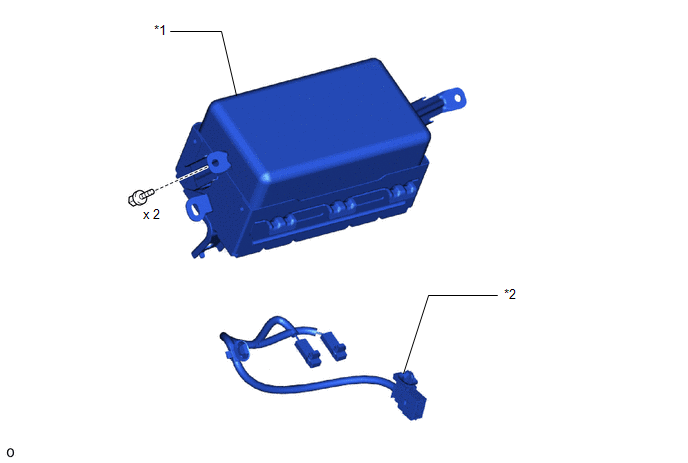
| *1 | INSTRUMENT PANEL PASSENGER AIRBAG ASSEMBLY | *2 | NO. 2 INSTRUMENT PANEL WIRE |
READ NEXT:
 On-vehicle Inspection
ON-VEHICLE INSPECTION CAUTION / NOTICE / HINT CAUTION: Be sure to follow the correct removal and installation procedures of the instrument panel passenger airbag assembly. PROCEDURE 1. INSPECT INSTRUM
Removal
REMOVAL PROCEDURE 1. REMOVE NO. 3 DECK BOARD SUB-ASSEMBLY Click here 2. REMOVE REAR DECK FLOOR BOX Click here 3. REMOVE DECK FLOOR BOX LH Click here 4. PRECAUTION CAUTION: Be sure to read Precau
Installation
INSTALLATION PROCEDURE 1. INSTALL INSTRUMENT PANEL PASSENGER AIRBAG ASSEMBLY (a) Attach the 3 hooks on the side of the airbag door facing the front of the vehicle and set the instrument panel passenge
SEE MORE:
On-vehicle Inspection
ON-VEHICLE INSPECTION PROCEDURE 1. INSPECT STOP LIGHT CONTROL ECU ASSEMBLY (a) Disconnect the stop light control ECU assembly connector. *a Front view of wire harness connector (to Stop Light Control ECU Assembly) (b) Measure the voltage and resistance on the wire harness
Dtc Check / Clear
DTC CHECK / CLEAR DTC CHECK USING TECHSTREAM (a) Connect the Techstream to the DLC3. (b) Turn the power switch on (IG). (c) Turn the Techstream on. (d) Enter the following menus: Body Electrical / Air Conditioner / Trouble Codes. (e) Check for DTCs. Click here Body Electrical > Air Conditioner &
© 2016-2026 Copyright www.lexunx.com
