Lexus NX: Inspection
Lexus NX Service Manual / Audio & Visual & Telematics / Audio / Video / Rear Door Speaker / Inspection
INSPECTION
PROCEDURE
1. INSPECT REAR SPEAKER ASSEMBLY
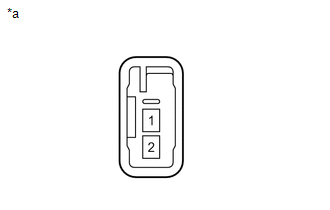
| (a) Measure the resistance according to the value(s) in the table below. Standard Resistance: for 8 Speakers
If the result is not as specified, replace the rear speaker assembly. |
|
2. INSPECT REAR NO. 2 SPEAKER ASSEMBLY
(a) When there is a malfunction such as noise from a speaker or no sound at all, replace the speaker with a new one and check that the malfunction disappears.
OK:
Malfunction disappears.
HINT:
- Connect the connectors to the rear No. 2 speaker assemblies.
- When there is a possibility that either the right or left rear No. 2 speaker assembly is defective, inspect by interchanging the right one with the left one.
- Perform the inspection above on both the LH and RH sides.
READ NEXT:
 Installation
INSTALLATION CAUTION / NOTICE / HINT HINT:
Use the same procedure for the RH and LH sides.
The procedure listed below is for the LH side.
PROCEDURE 1. INSTALL REAR NO. 2 SPEAKER ASSEMBLY NOTIC
Removal
REMOVAL PROCEDURE 1. REMOVE REAR SEAT ASSEMBLY (for Manual Seat) Click here 2. REMOVE REAR SEAT ASSEMBLY (for Power Seat) Click here 3. REMOVE TONNEAU COVER ASSEMBLY Click here 4. REMOVE DECK BO
SEE MORE:
Lost Communication with Cruise Control Front Distance Range Sensor Missing Message (U023587)
DESCRIPTION The forward recognition camera is connected to the millimeter wave radar sensor assembly via the CAN communication line. When the signal from the millimeter wave radar sensor assembly is interrupted, the forward recognition camera outputs U023587. DTC No. Detection Item DTC Detect
Sliding Roof ECU Communication Stop (B1273)
DESCRIPTION This DTC is stored when LIN communication between the sliding roof drive gear sub-assembly and main body ECU (multiplex network body ECU) stops for 10 seconds or more. DTC No. Detection Item DTC Detection Condition Trouble Area B1273 Sliding Roof ECU Communication Stop N
© 2016-2026 Copyright www.lexunx.com
