Lexus NX: Disassembly
Lexus NX Service Manual / Vehicle Exterior / Exterior Panels / Trim / Back Door Outside Garnish / Disassembly
DISASSEMBLY
PROCEDURE
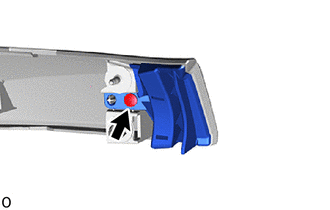
1. REMOVE BACK DOOR UPPER OUTSIDE GARNISH LH
| (a) Remove the screw and back door upper outside garnish LH. |
|
2. REMOVE BACK DOOR UPPER OUTSIDE GARNISH RH
HINT:
Use the same procedure described for the LH side.
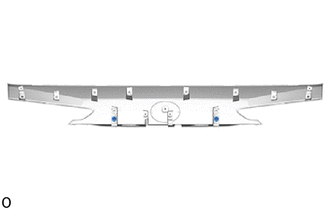
3. REMOVE BACK DOOR NO. 1 GARNISH RETAINER
| (a) Remove the 2 back door No. 1 garnish retainers. |
|
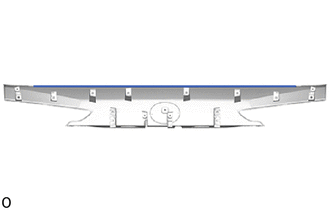
4. REMOVE BACK DOOR OUTSIDE GARNISH PROTECTOR
| (a) Remove the back door outside garnish protector. |
|
5. REMOVE SYMBOL EMBLEM
Click here .gif)
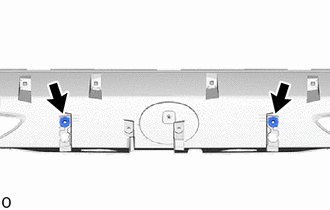
6. REMOVE NUT
| (a) Remove the 2 nuts. |
|
READ NEXT:
 Reassembly
REASSEMBLY PROCEDURE 1. INSTALL NUT (a) Install the 2 nuts. 2. INSTALL SYMBOL EMBLEM Click here 3. INSTALL BACK DOOR OUTSIDE GARNISH PROTECTOR (a) Clean the back door outside garnish surface. (1)
Installation
INSTALLATION PROCEDURE 1. INSTALL BACK DOOR OUTSIDE GARNISH SUB-ASSEMBLY (a) Attach the 12 clips to install the back door outside garnish sub-assembly. (b) Install the 4 bolts. Torque: 5.0 N·m {
SEE MORE:
Drive Motor "B" Control Module (P0A1C-118)
DTC SUMMARY MALFUNCTION DESCRIPTION These DTCs indicate that an overvoltage in the inverter has occurred. The cause of this malfunction may be one of the following: Internal inverter malfunction
Inverter internal circuit malfunction
Malfunction in ECU that controls the inverter
DESCRIPTION F
Components
COMPONENTS ILLUSTRATION *1 INSTRUMENT SIDE PANEL LH *2 NO. 1 INSTRUMENT PANEL SAFETY PAD SUB-ASSEMBLY *3 TRIP SWITCH (LIGHT CONTROL RHEOSTAT) - -
© 2016-2026 Copyright www.lexunx.com
