Lexus NX: Disassembly
Lexus NX Service Manual / Vehicle Exterior / Exterior Panels / Trim / Front Door Outside Moulding / Disassembly
DISASSEMBLY
CAUTION / NOTICE / HINT
HINT:
- Use the same procedure for the RH and LH sides.
- The procedure listed below is for the LH side.
PROCEDURE
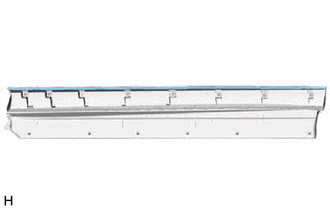
1. REMOVE FRONT DOOR UPPER OUTSIDE MOULDING PAD
| (a) Remove the front door upper outside moulding pad. |
|
READ NEXT:
 Reassembly
REASSEMBLY CAUTION / NOTICE / HINT HINT:
Use the same procedure for the RH and LH sides.
The procedure listed below is for the LH side.
PROCEDURE 1. INSTALL FRONT DOOR UPPER OUTSIDE MOULDING P
Installation
INSTALLATION CAUTION / NOTICE / HINT HINT:
Use the same procedure for the RH and LH sides.
The procedures listed below are for the LH side.
PROCEDURE 1. INSTALL FRONT DOOR LOWER OUTSIDE MOULDI
SEE MORE:
Illumination for Panel Switch does not Come on with Tail Switch ON
CAUTION / NOTICE / HINT NOTICE: When replacing the radio receiver assembly, always replace it with a new one. If a radio receiver assembly which was installed to another vehicle is used, the following may occur:
A communication malfunction DTC may be stored.
The radio receiver assembly may not
Foreign Object is Attached on Tip of Front Speed Sensor RH (C1235,C1236,C1238,C1239,C1275-C1278)
DESCRIPTION When foreign matter adheres to a speed sensor tip or speed sensor rotor, these DTCs are stored. The presence of foreign matter can be judged when an abnormal waveform is received from a sensor. These DTCs may also be detected when a malfunction occurs in the connector terminals or wire h
© 2016-2026 Copyright www.lexunx.com
