Lexus NX: Reassembly
REASSEMBLY
PROCEDURE
1. INSTALL ROOF WIND DEFLECTOR PANEL SUB-ASSEMBLY
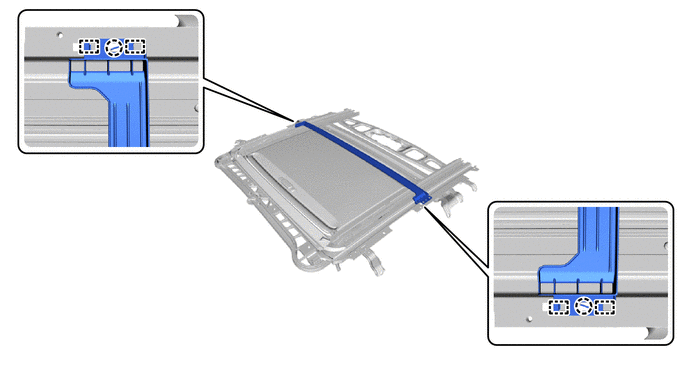
(a) Attach the 2 guides as shown in the illustration to install the roof wind deflector panel sub-assembly.
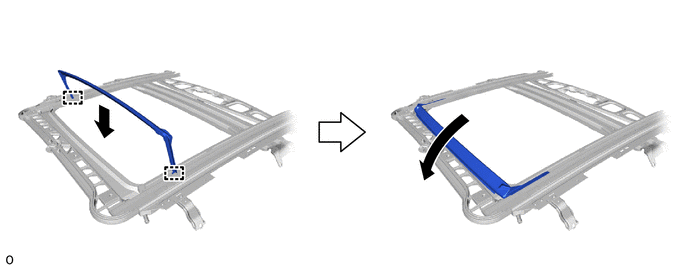
(b) Attach the 2 springs as shown in the illustration.
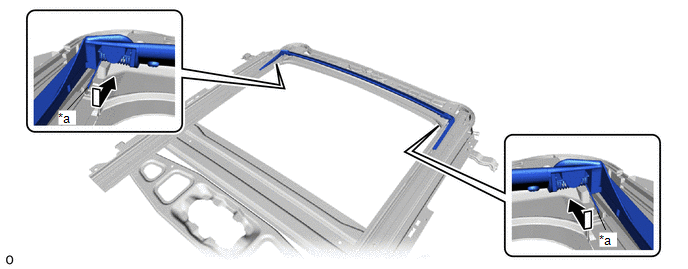
| *a | Spring | - | - |
NOTICE:
Make sure that the springs are securely installed.
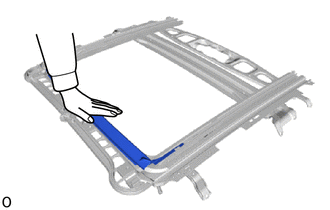
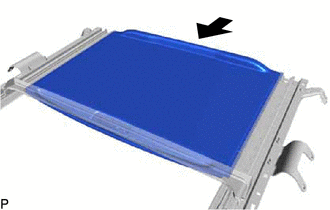
| (c) Hold down the roof wind deflector panel sub-assembly. |
|
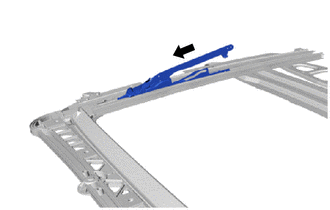
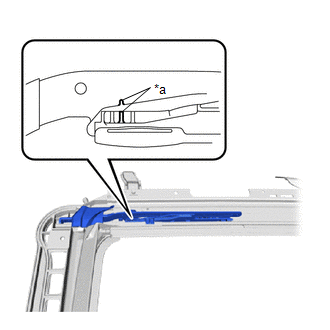
| (d) Slide the sliding roof drive cable to the end. HINT: Perform the same sliding procedure for the LH side. |
|
| (e) Using a screwdriver, tilt down the sliding roof drive cable. HINT:
|
|
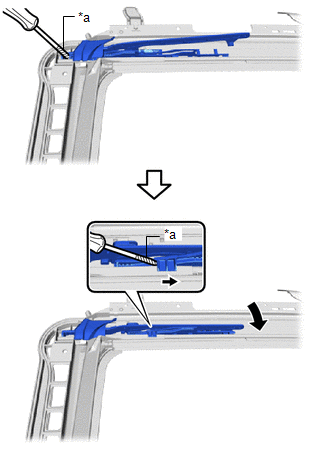
| (f) Slide the sliding roof drive cable and align the alignment marks. HINT: The illustration shown is for the RH side. Use the same procedure for the LH side. |
|
2. INSTALL SUNSHADE TRIM SUB-ASSEMBLY
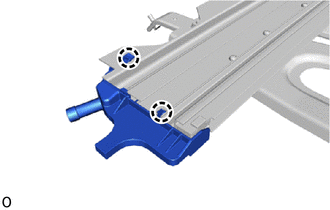
| (a) Insert the sunshade trim sub-assembly into the sliding roof housing sub-assembly. |
|
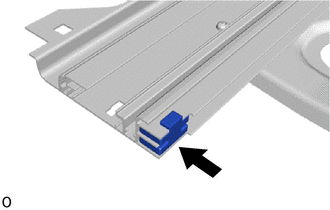
| (b) Install the sunshade trim stopper. HINT: Use the same procedure for both sunshade trim stoppers. |
|
3. INSTALL REAR ROOF DRIP CHANNEL
(a) Attach the 4 guides and 2 claws to install the rear roof drip channel.
4. INSTALL SLIDE ROOF DRAIN HOSE JOINT RH
| (a) Attach the 2 claws to install a new slide roof drain hose joint RH. |
|
5. INSTALL SLIDE ROOF DRAIN HOSE JOINT LH
HINT:
Use the same procedure for the RH side.
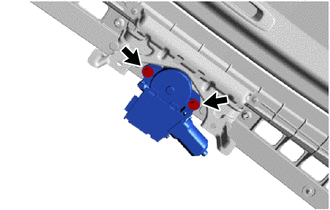
6. INSTALL SLIDING ROOF DRIVE GEAR SUB-ASSEMBLY
(a) Apply MP grease around the gear of the sliding roof drive gear sub-assembly.
| (b) Install the sliding roof drive gear sub-assembly with the 2 bolts. Torque: 5.4 N·m {55 kgf·cm, 48 in·lbf} |
|
READ NEXT:
 Installation
INSTALLATION PROCEDURE 1. INSTALL SLIDING ROOF HOUSING SUB-ASSEMBLY (a) Temporarily install the sliding roof housing sub-assembly with the 8 bolts and 8 nuts. (b) Tighten the nuts in the order indica
Sliding Roof Switch Assembly
ComponentsCOMPONENTS ILLUSTRATION *1 MAP LIGHT ASSEMBLY (SLIDING ROOF SWITCH ASSEMBLY) - - InspectionINSPECTION PROCEDURE 1. INSPECT MAP LIGHT ASSEMBLY (SLIDING ROOF SWITCH ASSEMBLY)
SEE MORE:
Image from Camera for Panoramic View Monitor is Abnormal
DESCRIPTION The display signal from the rear television camera assembly is transmitted to the multi-display assembly via the parking assist ECU. WIRING DIAGRAM w/o Seat Memory w/ Seat Memory CAUTION / NOTICE / HINT NOTICE:
When "!" mark is displayed on the parking assist ECU after the auxiliary
Engine Coolant Temperature / Intake Air Temperature Correlation (P011B)
DESCRIPTION The engine has two temperature sensors, an engine coolant temperature sensor and an intake air temperature sensor, to detect temperature while the engine is operating. A thermistor, whose resistance value varies according to the temperature, is built into each sensor. When the temperatur
