Lexus NX: Security Horn Assembly
Components
COMPONENTS
ILLUSTRATION
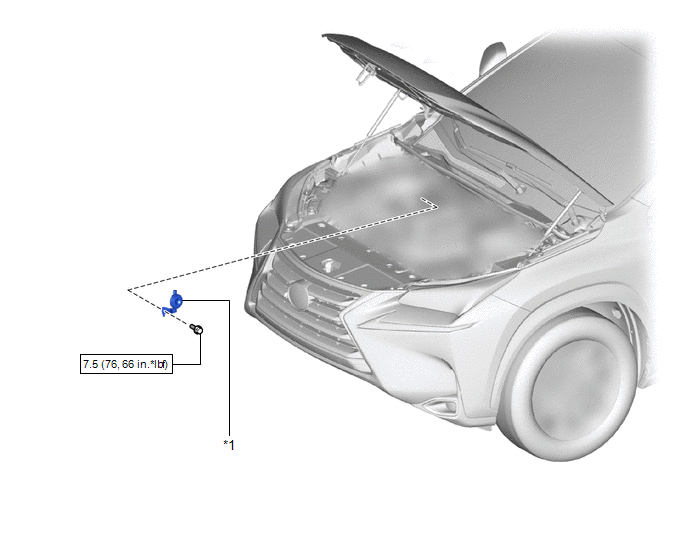
| *1 | SECURITY HORN ASSEMBLY | - | - |
.png) | N*m (kgf*cm, ft.*lbf): Specified torque | - | - |
Removal
REMOVAL
PROCEDURE
1. REMOVE SECURITY HORN ASSEMBLY
| (a) Remove the bolt and detach the guide. |
|
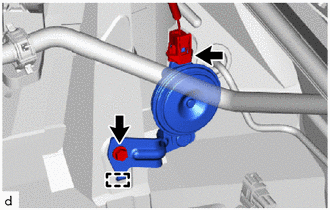
(b) Disconnect the connector and remove the security horn assembly.
Inspection
INSPECTION
PROCEDURE
1. INSPECT SECURITY HORN ASSEMBLY
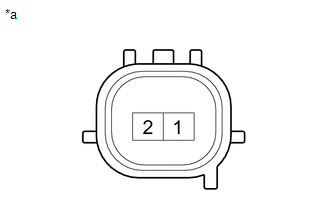
| (a) Check the operation of the security horn assembly. Standard:
If the result is not as specified, replace the security horn assembly. |
|
Installation
INSTALLATION
PROCEDURE
1. INSTALL SECURITY HORN ASSEMBLY
(a) Connect the connector.
(b) Install the security horn assembly with the guide and bolt.
Torque:
7.5 N·m {76 kgf·cm, 66 in·lbf}
READ NEXT:
 Components
COMPONENTS ILLUSTRATION *1 TONNEAU COVER ASSEMBLY - - ILLUSTRATION *1 DECK BOARD ASSEMBLY *2 NO. 2 DECK BOARD SUB-ASSEMBLY *3 NO. 3 DECK BOARD SUB-ASSEMBLY - - ILLU
Removal
REMOVAL PROCEDURE 1. REMOVE REAR SEAT ASSEMBLY (for Manual Seat) Click here 2. REMOVE REAR SEAT ASSEMBLY (for Power Seat) Click here 3. REMOVE TONNEAU COVER ASSEMBLY Click here 4. REMOVE DECK BO
SEE MORE:
System Diagram
SYSTEM DIAGRAM Communication Table Transmitter Receiver Signal Communication Method Air Conditioning Control Assembly Air Conditioning Amplifier Assembly Rear window defogger switch signal LIN
Disassembly
DISASSEMBLY CAUTION / NOTICE / HINT HINT:
Use the same procedure for the RH and LH sides.
The following procedure is for the LH side.
PROCEDURE 1. REMOVE FRONT DISC BRAKE PISTON (a) Place a piece of cloth between the front disc brake pistons and the disc brake cylinder assembly LH.
