Lexus NX: Components
COMPONENTS
ILLUSTRATION
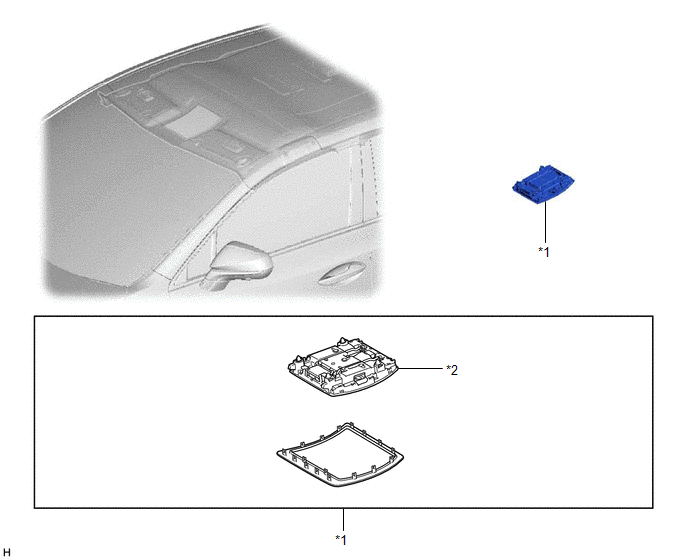
| *1 | MAP LIGHT ASSEMBLY (PERSONAL LIGHT) | *2 | MAP LIGHT SUB-ASSEMBLY |
READ NEXT:
 Removal
REMOVAL PROCEDURE 1. REMOVE MAP LIGHT ASSEMBLY (PERSONAL LIGHT) (a) Using moulding remover D, detach the 4 clips. (b) Disconnect the connectors and remove the map light assembly (person
Disassembly
DISASSEMBLY PROCEDURE 1. REMOVE MAP LIGHT SUB-ASSEMBLY (a) Using a screwdriver, detach the 17 claws and remove the map light sub-assembly. HINT: Tape the screwdriver tip before use. *1
Inspection
INSPECTION PROCEDURE 1. INSPECT MAP LIGHT ASSEMBLY (PERSONAL LIGHT) (a) Inspect the front map light. (1) Apply battery voltage to the connector and check the light illumination condition. OK: M
SEE MORE:
Certification ECU Vehicle Information Reading/Writing Process Malfunction (B15F7)
DESCRIPTION This DTC is stored when items controlled by the certification ECU cannot be customized via the navigation system vehicle customization screen. HINT: The certification ECU controls the smart access system with push-button start (for Entry Function) related items that are customizable via
Diagnosis System
DIAGNOSIS SYSTEM DESCRIPTION (a) Diagnostic Trouble Codes (DTCs) for the LEXUS ENFORM system can be read from the Data Link Connector 3 (DLC3) of the vehicle. When the system seems to be malfunctioning, use the Techstream to check for malfunctions and to repair it. CHECK DLC3 (a) Check the DLC3. Cli
© 2016-2026 Copyright www.lexunx.com
