
Lexus NX: Components
COMPONENTS
ILLUSTRATION
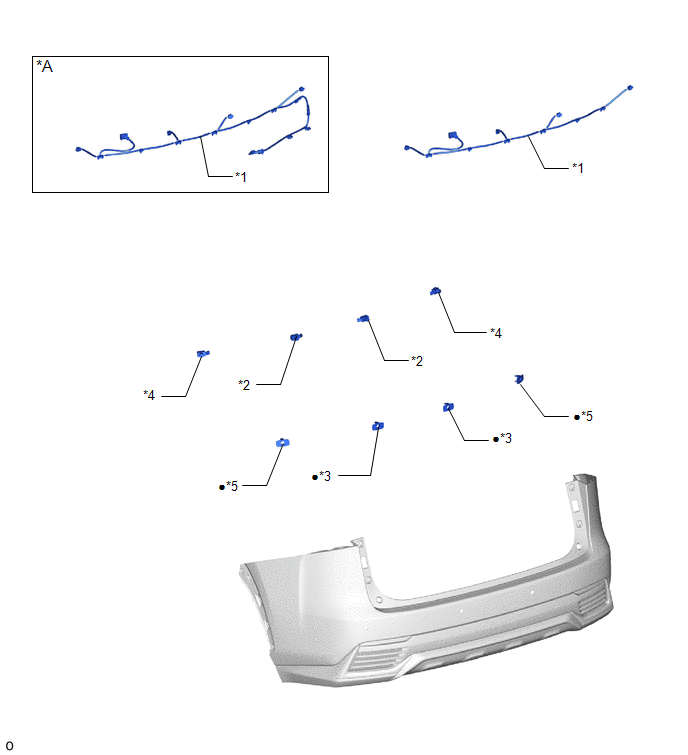
| *A | w/ Hands Free Power Back Door | - | - |
| *1 | NO. 2 LUGGAGE ROOM WIRE | *2 | REAR CENTER ULTRASONIC SENSOR |
| *3 | REAR CENTER ULTRASONIC SENSOR RETAINER | *4 | REAR CORNER ULTRASONIC SENSOR |
| *5 | REAR CORNER ULTRASONIC SENSOR RETAINER | - | - |
| ● | Non-reusable part | - | - |
ILLUSTRATION
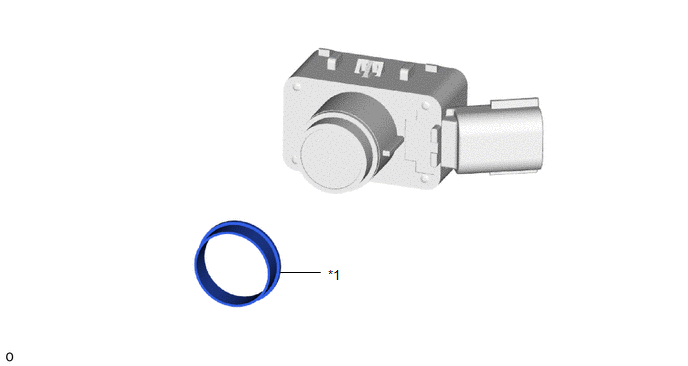
| *1 | ULTRASONIC SENSOR CUSHION SET | - | - |
READ NEXT:
 Removal
REMOVAL PROCEDURE 1. PRECAUTION Click here 2. REMOVE REAR BUMPER COVER Click here 3. REMOVE NO. 2 LUGGAGE ROOM WIRE Click here 4. REMOVE REAR CORNER ULTRASONIC SENSOR (a) Detach the 2 claws a
Inspection
INSPECTION PROCEDURE 1. INSPECT REAR CENTER ULTRASONIC SENSOR (a) Measure the resistance according to the value(s) in the table below. Standard Resistance: Tester Connection Condition Speci
Installation
INSTALLATION PROCEDURE 1. INSTALL ULTRASONIC SENSOR CUSHION SET HINT: Perform the following procedure only when replacement of a ultrasonic sensor cushion set is necessary. (a) Install the ultrasonic
SEE MORE:
Components
COMPONENTS ILLUSTRATION *A for 8 Inch Display *B for 10.3 Inch Display *1 CENTER INSTRUMENT CLUSTER FINISH PANEL ASSEMBLY *2 CONSOLE ARMREST ASSEMBLY *3 INSTRUMENT CLUSTER FINISH PANEL SUB-ASSEMBLY *4 INSTRUMENT PANEL FINISH PLATE *5 INSTRUMENT SIDE PANEL LH *6
System Diagram
SYSTEM DIAGRAM Communication Table Transmitting ECU Receiving ECU Signal Communication Method Main body ECU (multiplex network body ECU) Multiplex network door ECU
Combination switch assembly signal
Back door opener switch assembly signal
Power back door ON/OFF signal
© 2016-2026 Copyright www.lexunx.com
