Lexus NX: Disassembly
DISASSEMBLY
PROCEDURE
1. REMOVE CENTER STOP LIGHT ASSEMBLY
Click here .gif)
2. REMOVE REAR SPOILER NO. 2 PROTECTOR
(a) Remove the 2 rear spoiler No. 2 protectors.
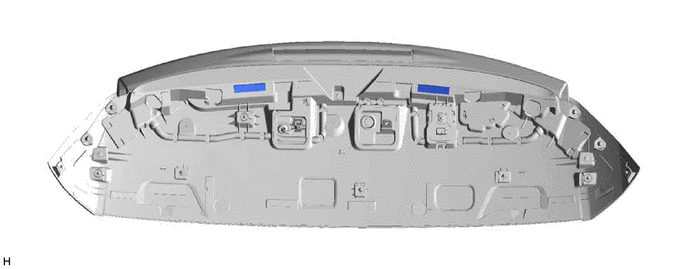
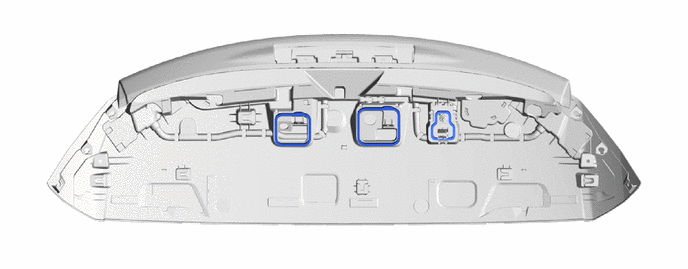
3. REMOVE PACKING
(a) Remove the 3 packings.
READ NEXT:
 Reassembly
REASSEMBLY PROCEDURE 1. INSTALL PACKING (a) Install 3 new packings. 2. INSTALL REAR SPOILER NO. 2 PROTECTOR HINT: When installing the rear spoiler No. 2 protector, heat the rear spoiler assembly using
Installation
INSTALLATION PROCEDURE 1. INSTALL REAR SIDE SPOILER SUB-ASSEMBLY LH (a) Attach the 2 clips and guide to install the rear side spoiler sub-assembly LH. 2. INSTALL REAR SIDE SPOILER SUB-ASSEMBLY RH HINT
Rear Wheel House Plate
ComponentsCOMPONENTS ILLUSTRATION *1 REAR WHEEL FRONT HOUSE PLATE LH - - RemovalREMOVAL CAUTION / NOTICE / HINT HINT:
Use the same procedure for the RH and LH sides.
The procedure
SEE MORE:
Components
COMPONENTS ILLUSTRATION *1 FRONT DOOR INSIDE HANDLE BEZEL PLUG LH *2 FRONT DOOR TRIM BOARD SUB-ASSEMBLY LH *3 FRONT DOOR TRIM COVER LH *4 OUTER MIRROR INSTALL HOLE COVER LH *5 OUTER REAR VIEW MIRROR ASSEMBLY LH *6 POWER WINDOW REGULATOR MASTER SWITCH ASSEMBLY WITH FRONT
Terminals Of Ecu
TERMINALS OF ECU HINT: Perform the inspection from the harness side with the connectors connected. STEERING HEATER AND VIBRATION ECU (a) Measure the voltage or resistance according to the value(s) in the table below. Terminal No. (Symbol) Terminal Description Condition Specified Condition
© 2016-2026 Copyright www.lexunx.com
