Lexus NX: Inspection
Lexus NX Service Manual / Vehicle Interior / Seat Belt / Seat Belt Warning Light (for Rear Side) / Inspection
INSPECTION
PROCEDURE
1. INSPECT AIR CONDITIONING CONTROL ASSEMBLY (SEAT BELT WARNING LIGHT) (for Rear Side)
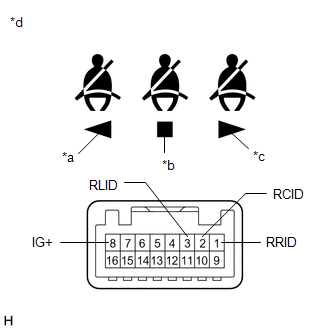
| (a) Check the seat belt warning light illumination. OK:
If the result is not as specified, replace the air conditioning control assembly (seat belt warning light). |
|
READ NEXT:
 Installation
INSTALLATION PROCEDURE 1. INSTALL AIR CONDITIONING CONTROL ASSEMBLY (SEAT BELT WARNING LIGHT) (a) Connect the 2 connectors. (b) Attach the 6 clips to install the air conditioning control assembly (
Parts Location
PARTS LOCATION ILLUSTRATION *1 AIRBAG ECU ASSEMBLY *2 PARKING BRAKE ECU ASSEMBLY *3 AIR CONDITIONING CONTROL ASSEMBLY *4 HYBRID VEHICLE CONTROL ECU *5 BRAKE BOOSTER WITH MAST
SEE MORE:
Disposal
DISPOSAL CAUTION / NOTICE / HINT CAUTION: Before performing pre-disposal deployment of any SRS part, review and closely follow all applicable environmental and hazardous material regulations. Pre-disposal deployment may be considered hazardous material treatment. PROCEDURE 1. PRECAUTION CAUTION:
Components
COMPONENTS ILLUSTRATION *1 NO. 1 AIR DUCT *2 QUICK HEATER ASSEMBLY ● Non-reusable part - -
© 2016-2026 Copyright www.lexunx.com
