Lexus NX: Reassembly
REASSEMBLY
PROCEDURE
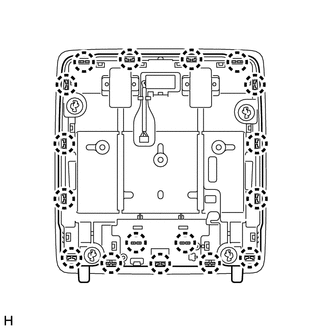
1. INSTALL MAP LIGHT SUB-ASSEMBLY
| (a) Attach the 17 claws to install the map light sub-assembly. |
|
READ NEXT:
 Installation
INSTALLATION PROCEDURE 1. INSTALL MAP LIGHT ASSEMBLY (PERSONAL LIGHT) (a) Connect the connectors. (b) Attach the 4 clips to install the map light assembly (personal light).
Rear Door Courtesy Switch
ComponentsCOMPONENTS ILLUSTRATION *1 REAR DOOR COURTESY LIGHT SWITCH ASSEMBLY - - N*m (kgf*cm, ft.*lbf): Specified torque - - RemovalREMOVAL CAUTION / NOTICE / HINT HINT:
Relay
On-vehicle InspectionON-VEHICLE INSPECTION PROCEDURE 1. INSPECT LIGHT CUT RELAY (a) Remove the upper instrument panel sub-assembly. Click here (b) Remove the light cut relay. (c
SEE MORE:
Drive Motor "B" Temperature Sensor Circuit Low (P0A32-666,P0A33-665)
DESCRIPTION Refer to the description for DTC P0A31-668. Click here HINT: The term "drive motor B" indicates the rear motor (MGR). DTC No. Detection Item DTC Detection Condition Trouble Area MIL Warning Indicate P0A32-666 Drive Motor "B" Temperature Sensor Circuit Low Line shor
Wireless Door Lock Buzzer
ComponentsCOMPONENTS ILLUSTRATION *1 FRONT FENDER SPLASH SHIELD FRONT LH *2 WIRELESS DOOR LOCK BUZZER *3 FRONT SIDE AIR GUIDE SUB-ASSEMBLY LH *4 FRONT FENDER LINER LH InstallationINSTALLATION PROCEDURE 1. INSTALL WIRELESS DOOR LOCK BUZZER (a) Attach the clamp and install the
© 2016-2026 Copyright www.lexunx.com
